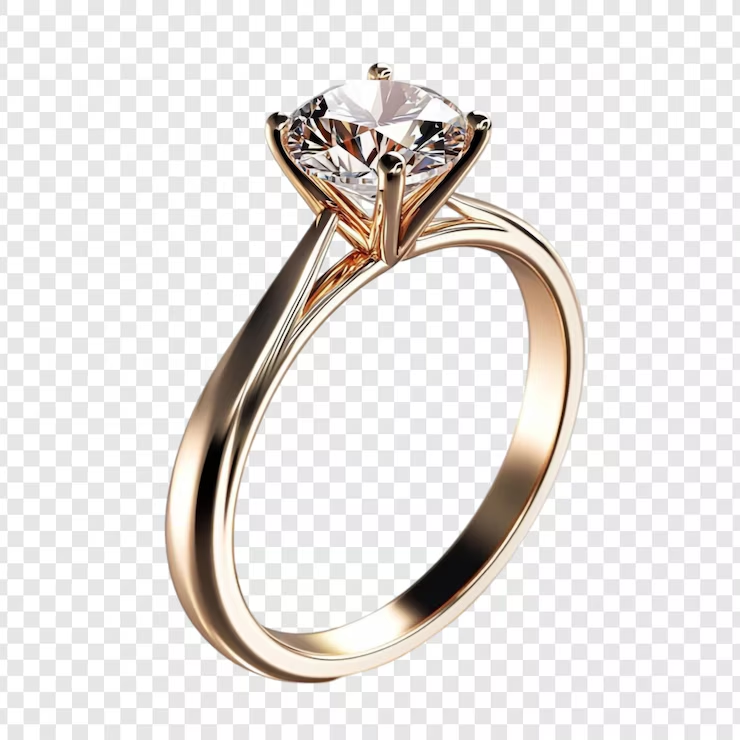
It’s an art to take stunning photos of jewels. High-quality photos are necessary to highlight each piece’s fine details and elegance, whether you’re taking them for social media, an online store, or your portfolio.
It can be challenging to photograph jewellery, but with the correct technique, you can create eye-catching images that showcase your pieces.
This blog post offers seven professional-looking jewelry photography suggestions. We’ll walk you through every step to improve your jewellery photography, from choosing the proper lighting and background to adjusting the camera and post-editing.

Understand the Importance of Lighting
Every beautiful shot starts with good lighting, and jewellery is no exception. Proper illumination minimises unsuitable shadows and highlights the jewellery’s glitter and sheen.
Utilise softboxes or natural light.
Jewellery photography benefits greatly from natural light for the most beautiful look. Try taking pictures close to a window to benefit from soft, diffused light during the day. Softboxes are an excellent substitute for sunlight when you’re indoors. By uniformly dispersing light, these techniques lessen harsh shadows and produce a polished look.

Steer clear of harsh light.
Although natural light is best, avoid intense sunshine, as it can overexpose some areas of the jewelry or produce harsh shadows. Soft, steady illumination ensures a clear capture of every detail.
2. Choose the Right Background
A clean and simple background allows the jewellery to stand out. Avoid cluttered or distracting backgrounds that take attention away from the piece.
Neutral Colors Work Best
Neutral backgrounds like white, black, or grey are ideal for jewellery photos. These colours allow the jewellery’s colours and details to shine without competing for attention. If you photograph a silver piece, a white background can make it stand out beautifully, while dark jewellery might look better on a lighter background.

Consider Textured or Patterned Backgrounds
If you want to add flair to your photos, consider using textured or patterned backgrounds. Soft fabrics or wood surfaces can add depth to your images, but make sure they don’t overpower the jewelry itself.
3. Use the Right Camera Settings
For professional-quality jewellery images, you need to use the appropriate camera settings. Proper settings are key to capturing sharp and detailed shots, whether you’re using a smartphone or a DSLR.
Shoot in Macro Mode
To highlight the intricate details of jewellery, use macro mode or a macro lens. This setting allows you to focus on the small, delicate elements of the jewellery, ensuring they are sharp and clear.

Use a Tripod
Use a tripod to prevent shaky hands from blurring the shot. A tripod helps keep your camera steady, especially in low-light conditions or when using longer exposure times.
4. Focus on Composition
Jewellery photography, like all forms of photography, relies on good composition. The right composition will guide the viewer’s eye to the jewellery while maintaining balance and harmony in the frame.
Use the Rule of Thirds
The rule of thirds is a popular composition technique that divides your image into three equal sections horizontally and vertically. Place the jewellery along these lines or at their intersections to create a more dynamic and visually appealing image.
Experiment with Angles
Try shooting from different angles to see what makes the jewellery look its best. A top-down shot can showcase the details of a ring, while a side angle might highlight the depth of a necklace. Experimentation is key to finding the best perspective.

5. Incorporate Reflections for a Polished Look
Reflections can add a sophisticated and professional touch to jewelry photography. However, they should be used sparingly and in the right way.
Use a Reflective Surface
Place the jewelry on a reflective surface, such as glass or acrylic, to create a subtle mirror effect. This technique adds depth to the photo and enhances the jewelry’s shine. Just keep reflections under control so they don’t detract from the main piece.

6. Pay Attention to Details
Jewelry has many fine details that deserve attention. These details, whether the sparkle of diamonds or the delicate design of a bracelet, should be clearly visible in your photos.
Clean Your Jewelry
Before photographing, ensure your jewelry is clean and free of stain or dust. Even minor imperfections can be noticeable in close-up shots. Use a microfiber cloth to gently clean the piece and ensure it’s sparkling in the shot.
Capture Close-Up Shots
Close-up shots allow you to highlight intricate features like engraving, gemstones, and craftsmanship. By focusing on these details, you can showcase each piece’s uniqueness.

7. Edit Your Photos to Perfection
Even if you take amazing pictures, a little post-editing can elevate the overall quality. Editing software can help brighten colors, adjust contrast, and even remove minor imperfections.
Increase The Jewelry’s Shine
When editing your jewelry photos, ensure the shine of the jewelry is accentuated without overdoing it. You can adjust highlights and contrast to bring out the reflections and sparkle, giving your jewelry that eye-catching appeal.
You may want to consider outsourcing professional jewelry photo retouching. RetouchAid offers specialized jewelry retouching services that can enhance your jewelry photos and make them look flawless.
Conclusion
Taking good pictures of jewelry requires patience, skill, and the proper techniques. By mastering the basics of lighting, composition, and camera settings, you can create stunning photos that truly showcase the beauty of your pieces. Don’t forget that editing plays an important role in finalizing your images and making them stand out. With practice and attention to detail, you’ll be able to take jewelry photos that capture your audience’s attention and make your pieces shine.